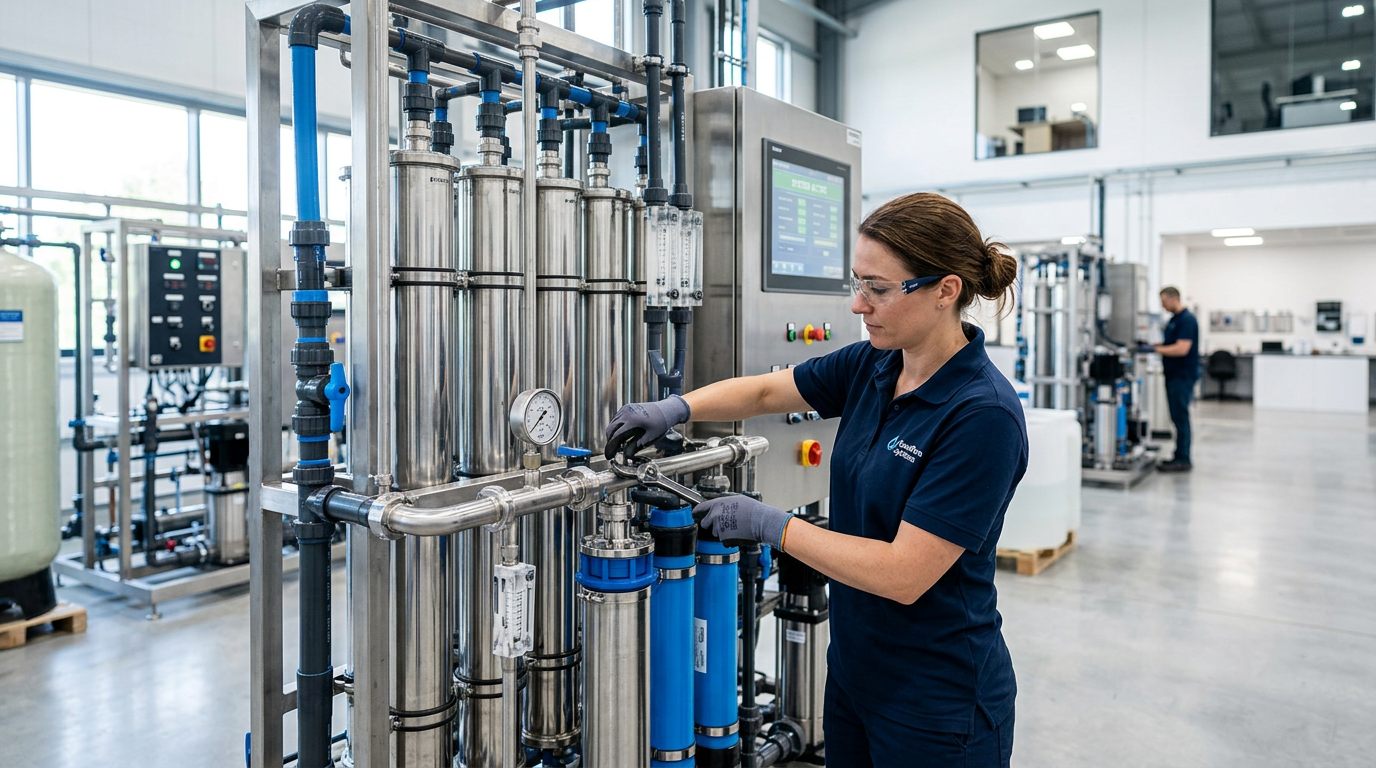
A professional RO system installation involves connecting the purifier to your cold water line, sink faucet, and drain pipe, a process that usually takes one to three hours. Having it done correctly ensures your system runs efficiently and provides clean, safe drinking water from the very first day. For residents needing reliable and skilled technicians, a professional water purification service in Patna is the best way to get your new unit up and running without any issues. The right installation prevents future leaks and performance problems, safeguarding your investment and your family's health.
Prepare Your Kitchen Before the Technician Arrives
You can make the installation process smoother and faster by preparing the area beforehand. First, completely clear out the cabinet under your kitchen sink. The technician will need ample space to work, place tools, and position the RO unit and storage tank. This simple step can save a significant amount of time.
Next, ensure there is a functional electrical outlet near the sink, ideally inside the cabinet or just beside it. Most RO systems with a booster pump require continuous power. If an outlet is not available, you may need an electrician to install one, or the technician might need to use an extension cord as a temporary solution. Finally, think about where you want the new, dedicated RO faucet to be placed on your sink or countertop. Having a spot in mind helps the technician get straight to work.
The Step-by-Step Installation Process Unpacked
While every kitchen is slightly different, a standard RO installation follows a consistent set of steps. Understanding them helps you know what the technician is doing under your sink.
-
Initial Assessment: The technician will first inspect the plumbing under your sink to confirm compatibility. They will identify the cold water line and the drain pipe and check the available space against the dimensions of your RO unit and tank.
-
Installing the Dedicated Faucet: The RO system uses its own small faucet for dispensing purified water. The technician will drill a small hole in your sink or countertop for this. If you have a stainless steel sink, this is a quick process. Granite, marble, or quartz countertops require a special diamond-tipped drill bit and more time to prevent cracking.
-
Connecting to the Cold Water Line: The technician will turn off your kitchen's cold water supply and install a feed water adapter or saddle valve. This component diverts a small amount of water from your main line into the RO system for purification.
-
Setting Up the Drain Connection: A drain saddle clamp is attached to your sink’s drain pipe. A hole is drilled into the pipe, and the saddle is secured over it. This allows the wastewater (brine) that carries away rejected contaminants to flow directly into your drain.
-
Mounting the Unit and Tank: The main RO filter assembly is typically mounted to the side wall of the under-sink cabinet to keep it secure and off the floor. The storage tank is then placed beside it. Proper placement ensures you still have some storage space left and that the filters are accessible for future replacement.
-
Connecting the Tubing: The technician will connect all the components using color-coded plastic tubing. These tubes run from the feed water valve to the RO unit, from the unit to the storage tank, from the tank to the faucet, and from the unit to the drain saddle. All connections are double-checked to ensure they are secure.
-
Final Checks and System Flush: Once everything is connected, the technician will slowly turn the water back on and meticulously check every connection point for leaks. They will then initiate the system flush, allowing the first few tanks of water to fill and drain. This is essential for cleaning out any carbon fines from new filters and sanitizing agents from manufacturing.
How Long Does a Standard Installation Take?
For a straightforward installation with a pre-drilled faucet hole or a stainless steel sink, the entire process typically takes about one to two hours. However, certain factors can extend this timeline to three hours or more.
Drilling through hard countertop materials like granite or quartz is a delicate task that requires extra time and care. Old or non-standard plumbing might require additional fittings or adjustments. If the under-sink area is extremely cramped or difficult to access, it will naturally take the technician longer to maneuver and secure the components properly.
What a Professional Installation Service Includes
A standard installation fee typically covers a specific set of services. Knowing what is included helps you understand the value and prevents surprise charges.
Included Services: * Unboxing and inspection of the new RO unit and its parts. * Full assembly of the filter housing and components. * Drilling one standard hole for the faucet (in stainless steel or laminate countertops). * Connection to an existing, compatible cold water line and drain pipe. * A complete system flush and a thorough leak check. * A brief demonstration on how to operate the system and when to call for service.
Services That May Cost Extra: * Drilling through hard surfaces like granite, marble, or concrete. * Installation of a new electrical outlet if one isn't available. * Significant modifications to existing plumbing. * Installation of additional components like a pressure regulator or permeate pump.
Understanding RO Installation Costs in Patna
The cost for a standard RO installation in Patna generally ranges from ₹500 to ₹1,500. The final price depends on several factors. If you purchase the RO system from the same company that provides installation, the service might be included or offered at a discounted rate. The complexity of the job is the biggest variable; an easy installation in a modern kitchen will be at the lower end of the price scale, while one requiring special drilling or plumbing work will cost more.
Warning Signs of an Improper Installation
A poor installation can lead to damage and poor performance. Be on the lookout for these red flags in the hours and days after the service is complete:
- Leaks: Even a small, slow drip is a problem. Check all connection points with a dry paper towel 24 hours after installation.
- Slow Water Flow: If the faucet produces a very weak stream and the tank takes many hours to fill, a tube might be kinked or a valve not fully opened.
- Constant Draining Noise: A properly functioning RO system only sends water to the drain while it's actively making water to fill the tank. If you hear water running to the drain constantly, there is an issue with the automatic shut-off valve.
- Bad Taste or Odor: If the water tastes strange after the first few flushed tanks, the system may not have been flushed correctly, or a line could be improperly connected.
Choosing a Qualified RO Installer
To avoid these issues, choose your installer carefully. Look for a service provider with proven experience installing a wide variety of RO system brands. A reputable company will offer transparent, upfront pricing so you know the full cost before work begins. Ask if they provide a workmanship warranty, which covers any leaks or issues arising from the installation itself. Checking online reviews from other local customers in Patna can also provide insight into a company's reliability and professionalism.